Monday, 31 August 2009
Dobos Torta? Verdict: lush
of Sugar and Lorraine of Not Quite Nigella. They chose the spectacular Dobos
Torte based on a recipe from Rick Rodgers' cookbook Kaffeehaus: Exquisite
Desserts from the Classic Caffés of Vienna, Budapest, and Prague.
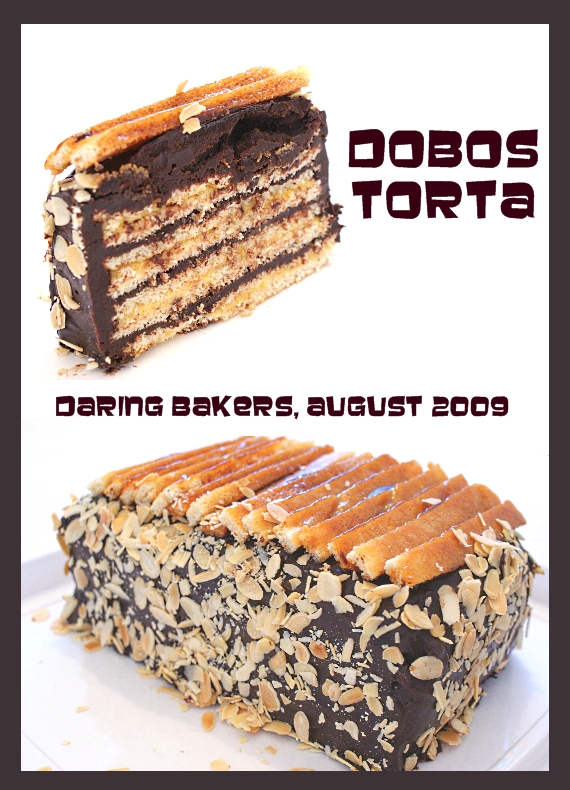
This month, we Daring Bakers were set to make a cake I have never heard of - a Hungarian classic called the Dobos Torta. Layers and layers of thin sponge, sandwiched together and iced all over.
You can get the recipe here. Normally, as a new-ish DB, I tend to stick quite closely to the recipe, but this month I decided to make a few variations of my own, and presented a lovely rectangular eight layer dark-chocolate-orange-and-almond cake.
To do this, I doubled the cake mix recipe, and made 5 11-inch squares, which I later trimmed and cut in half. My filling is alternating layers of home-made orange curd (Delia's recipe), and dark chocolate ganache. The flavours go beautifully together.
In all, I am pleasantly surprised. This was a LOT of work - it took me much longer than the estimated times we were given, but I guess that's always the way with new recipes - but the finished product was very classy. A great 'posh' cake, and it definitely tastes Central European - lovely with coffee.
Not sure I would make it again, unless it was for a very special occasion (and I'd certainly drop the caramel-covered cake wedges, which were overly-hard-work and not very tasty), but it was a great challenge - I really feel like I've stretched myself on this one.
Posted by Lola at 18:52 0 comments
Sunday, 28 June 2009
Bakewell Tart of Delight!
I LOVE almonds and I ADORE Bakewell Tart, so I was delighted that this is what we were to make for the Daring Bakers this month.
Despite the confusion, I'm pretty sure this is a Bakewell Tart, as opposed to a Bakewell Pudding - sweet shortcrust pastry, a think layer of jam, and lovely soft frangipane. Mmmmmmmmm.
You can see the recipe we worked to here. I used a 'posh' cherry conserve that I bought (no time to make jam this month!). I just used enough to smear over the base, which worked well - I don't think Bakewells should have too much jam if possible.
I followed it very closely, and it worked out very well indeed. The pastry was flaky and cooked through, and the almond mix was just delicious. The people I fed it to at my drama group were very pleased, and commented on how moist it was. I will definitely be making it again - it's a great 'keeper' for picnics, teas, parties etc.
I did make a couple of changes to the recipe / method:
* used one third more frangipane as I had a slightly larger tin - seemed to cook in the same time though, giver or take 5 minutes.
* blind-baked the case for 15 minutes, at 180 celsius, lined with parchment and filled with beans - I then egg-washed it and popped it back in for 2-3 minutes - this definitely stopped the pastry going soggy.
* put the butter, bowl and flour in the freezer for ten minutes before making the patry - this got me a better pastry than I have managed before.
All in all - another tasty Daring Bakers success! Yum.
Posted by Lola at 18:11 0 comments
Labels: almonds, cakes, daring bakers
Saturday, 2 May 2009
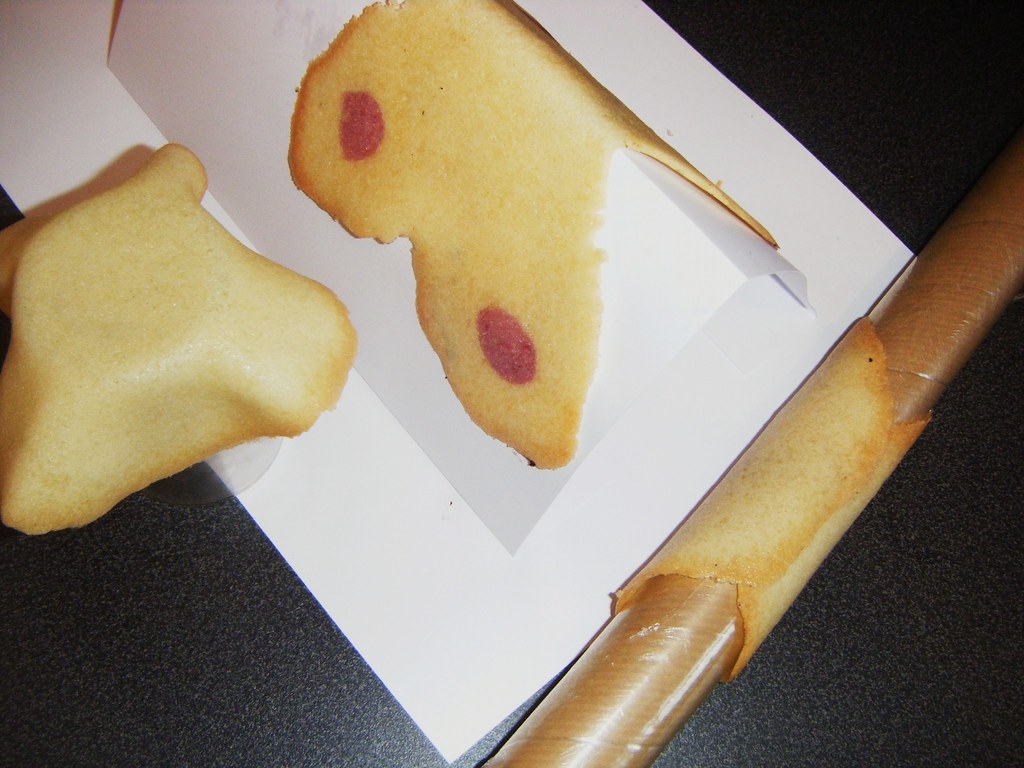
Figolli
Posted by Lola at 11:27 0 comments
Wednesday, 29 April 2009
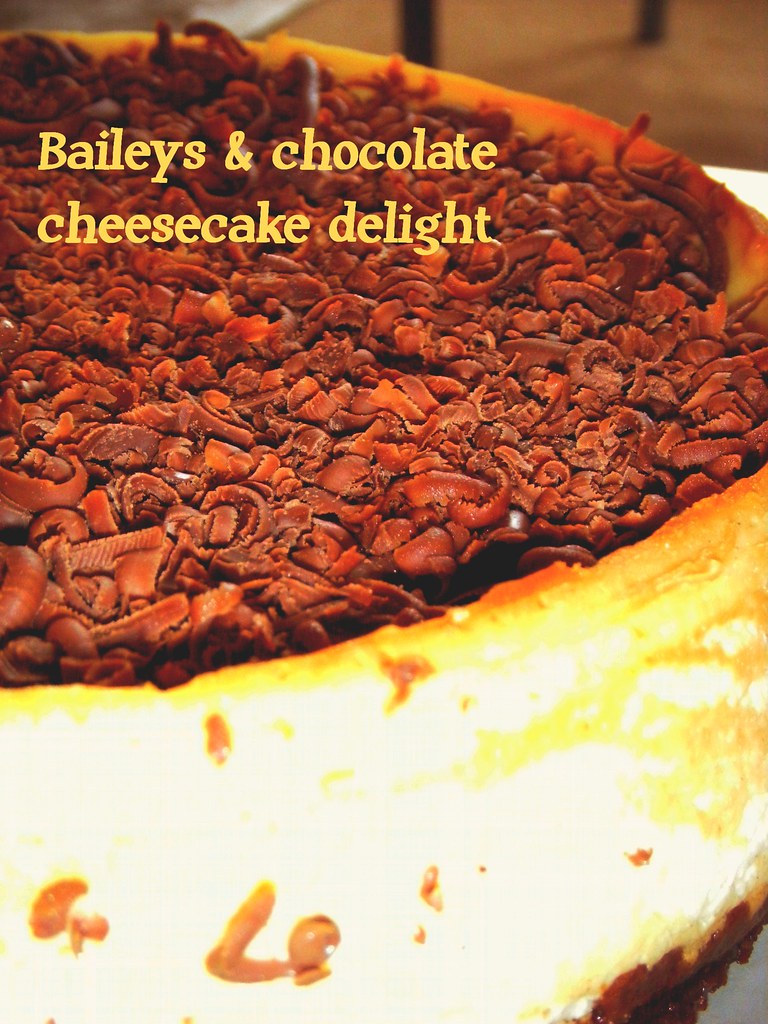
Daring Bakers April 2009 - Cheesecake Challenge
Posted by Lola at 10:59 0 comments
Labels: cheesecake, chocolate, daring bakers
Tuesday, 3 March 2009
Kwarezimal
Posted by Lola at 14:34 0 comments
Saturday, 28 February 2009
For the love of chocolate!
The February 2009 challenge is hosted by Wendy of WMPE's blog and Dharm of Dad ~ Baker & Chef.
We have chosen a Chocolate Valentino cake by Chef Wan; a Vanilla Ice Cream recipe from Dharm and a Vanilla Ice Cream recipe from Wendy as the challenge.
This is my second Daring Bakers’ challenge, and an exciting one for someone with a sweet tooth (though also, unfortunately, one requiring major self-control, due to the ongoing diet!!).
I made a rich, dark chocolate and mint valentine, and paired it with a low-fat chocolate and mint ‘ice-cream’ made from evaporated milk – tasty, and also simple (also meant I could actually eat it, which was a bonus!).
It was delicious. I decided that, given the simple pared-down ingredients, I should buy ‘the best’, and so combined some beautiful organic eggs (with fabulously intensely yellow yolks) with some great quality chocolate. I used about 2/3rds dark mint chocolate, and 1/3rd milk chocolate. The resulting flavour was dark and minty, and just sweet enough for grown-ups (I would definitely use a higher proportion of milk chocolate if I was making it for kids).
I cut most of it into little squares and took them to work – all 30-odd of them had gone in half an hour!
In all, I found this recipe very simple to follow – by turning the oven down slightly shy of the temperature, and keeping a close eye on it, I managed to avoid any texture problems.
I will, most definitely, be making it again.
Beautiful organic eggs from posh hens.
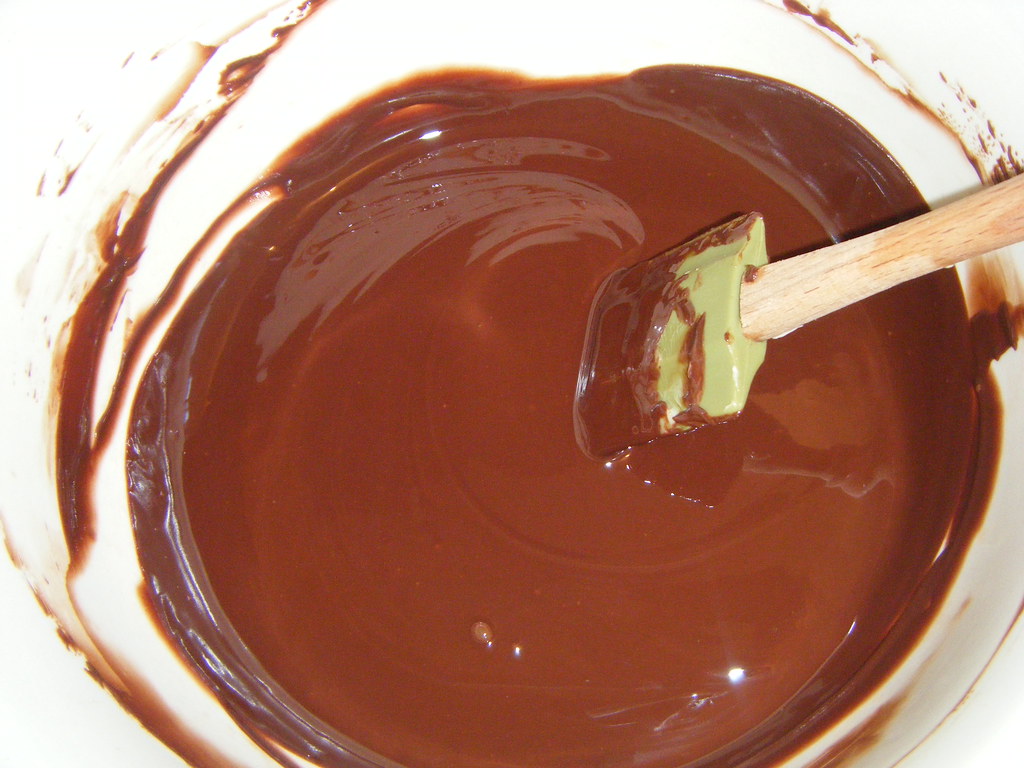
Lovely, rich melted chocolate and butter.
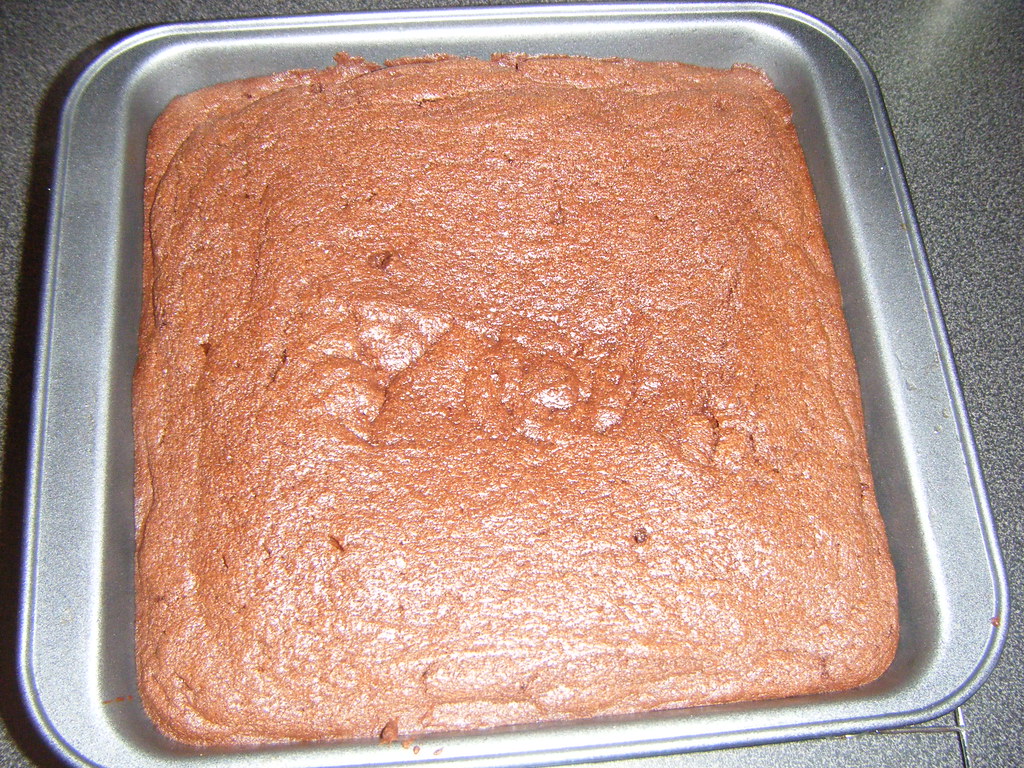
Cooked in its tin - didn't seem to sink!
Chocolate Valentino, inspired by Malaysia’s “most flamboyant food ambassador”, Chef Wan. Recipe comes from Sweet Treats by Chef Wan.
hocolate Valentino
Preparation Time: 20 minutes
454 grams of chocolate, roughly chopped
145 grams of unsalted butter
5 large eggs separated
1. Put chocolate and butter in a heatproof bowl and set over a pan of simmering water (the bottom of the bowl should not touch the water) and melt, stirring often.
2. While your chocolate butter mixture is cooling, butter your pan and line with a parchment circle then butter the parchment.
3. Separate the egg yolks from the egg whites and put into two medium/large bowls.
4. Whip the egg whites in a medium/large grease free bowl until stiff peaks are formed (do not over-whip or the cake will be dry).
5. With the same beater beat the egg yolks together.
6. Add the egg yolks to the cooled chocolate.
7. Fold in 1/3 of the egg whites into the chocolate mixture and follow with remaining 2/3rds. Fold until no white remains without deflating the batter.
8. Pour batter into prepared pan, the batter should fill the pan 3/4 of the way full, and bake at 190C
9. Bake for 25 minutes until an instant read thermometer reads 60C.
Note – If you do not have an instant read thermometer, the top of the cake will look similar to a brownie and a cake tester will appear wet.
10. Cool cake on a rack for 10 minutes then unmold.
Posted by Lola at 14:13 0 comments
Labels: cakes, chocolate, daring bakers
Thursday, 29 January 2009
My first Daring Bakers challenge!..... Kannoli Tuiles!
This month's challenge is brought to us by Karen of Baking Soda and Zorra of 1x umruehren bitte aka Kochtopf.
They have chosen Tuiles from The Chocolate Book by Angélique Schmeink and Nougatine and Chocolate Tuiles from Michel Roux.
So, this month, along with many of my Daring Bakers sisters and brothers, I have been making Tuiles. Light, crisp biscuits that can be shaped into (more-or-less) anything to decorate a pud or a snack.
I should admit, on first seeing this month’s challenge, I was a little disappointed. I’d seen the glamorous and complex cakes they had made in the past, and I wanted to have a go at that – the recipe for tuiles seemed a bit simple.
But goodness me was I wrong! The recipe itself was quite easy to put together – my eggs split the mix a little bit, but it came back together as soon as I added the flour.
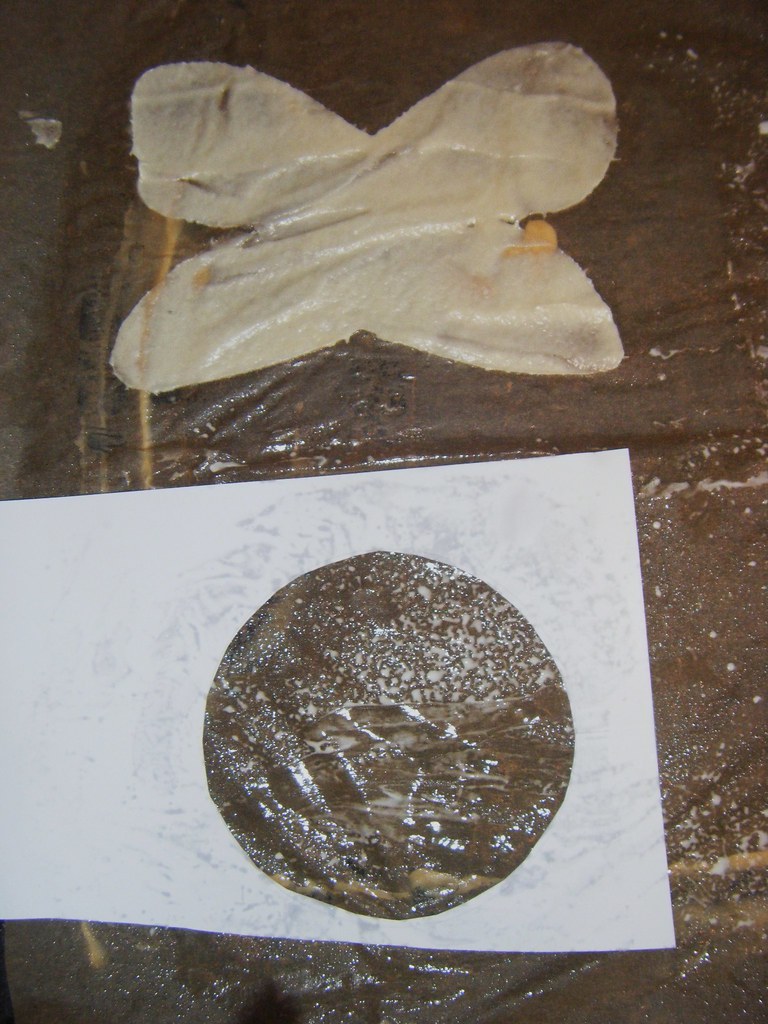
I also had to acquire some stencils to spread the mix into.... It being January, I was skint so decided to make some out of a thin, flexible card I had left from Christmas. The stencils themselves were fine, but obviously the card absorbs moisture, so they became a bit soggy after stencilling just one or two biscuits. Washing them was also not an option.
Tip one – next time I’d buy stencils, or make them out of acetate!
The second ‘issue’ I faced was spreading the batter. How thick? After trying again and again (I had to make two batches), I worked out that the key is to have a cold batter, a cold tray and to spread THINLY! When I had made them thicker they came out too cake-y, and wouldn’t really hold their shape.
The only problem I faced here was again a matter of equipment – my cookie sheet is seriously old, and a bit knobbly, so getting the tuiles off was hard to do when they were spread as thinly as they needed to be.
Tip two – cold batter, cold tray, nice smooth cookie sheet!Cooking the tuiles was quite easy. My oven’s a bit ropey, so I turned it down a couple of notches and just checked the biscuits very regularly. By the time I made my last tuile, I seemed to have the nack of spreading them thinly and evenly enough that when they were cooked I didn’t have too much brown-ness round the edges.
Finally – shaping!! The more thinly the batter had been spread, the easier they were to shape. They seemed so soft and malleable on the tray, that it was surprising just how quickly they firmed up. Like lots of people, I found popping the tray half-in, half-out of the oven to keep them soft, and doing the shaping by the oven door was an effective way of doing it. Not sure this would have worked if I had been making more than three or four on a tray though!
Our challenge was not just to make the tuiles – we also had to shape them, and combine them with something light... So, my tuiles became kannoli! I LOVE kannoli, and you can’t really get them in the UK, so if we want them we are forced to make them. My Grandma has tried with softened brandy snaps before, and somewhere in a cupboard I have a set of the metal tubes, but I’ve never felt like getting to grips with the deep-frying. So tuiles seemed like an opportunity to make a crisp tube shell without all the faff and grease of deep-frying, and without the strong flavour of the brandy-snaps.
And it worked! I beat some ricotta with a little bit of sieved icing sugar and piped it in (I don’t like it too sweet or chocolatey – it should taste of cheese!). I served it with a really simple raspberry coulis to cut through the rich filling. And the verdict? YUM! I will definitely be doing this again.
Following is a recipe taken from a book called “The Chocolate Book”, written by female Dutch Master chef Angélique Schmeinck.
Yield: 20 small butterflies/6 large (butterflies are just an example).
Preparation time: batter 10 minutes, waiting time 30 minutes.
Baking time: 5-10 minutes per batch.
65 grams softened butter (not melted but soft)
60 grams sieved icing sugar
7 grams caster sugar
Dash of vanilla extract
2 large egg whites (slightly whisked with a fork)
65 grams sieved plain flour
1 tablespoon cocoa powder
Butter/spray to grease baking sheet
Oven: 180C (I put mine at 160C)
Using a hand whisk or a stand mixer fitted with the paddle (low speed) and cream butter, sugar and vanilla to a paste. Keep stirring while you gradually add the egg whites. Continue to add the flour in small batches and stir to achieve a homogeneous and smooth batter/paste. Be careful to not overmix.
Cover the bowl with plastic wrap and chill in the fridge for at least 30 minutes to firm up. (This batter will keep in the fridge for up to a week, take it out 30 minutes before you plan to use it).
Line a baking sheet with parchment paper or grease with either butter/spray and chill in the fridge for at least 15 minutes. This will help spread the batter more easily if using a stencil/cardboard template such as the butterfly. Press the stencil on the bakingsheet and use an off sided spatula to spread batter. Leave some room in between your shapes. Mix a small part of the batter with the cocoa and a few drops of warm water until evenly colored. Use this colored batter in a paper piping bag and proceed to pipe decorations on the wings and body of the butterfly.
Bake butterflies in a preheated oven (180C/350F) for about 5-10 minutes or until the edges turn golden brown. Immediately release from bakingsheet and proceed to shape/bend the cookies in the desired shape. These cookies have to be shaped when still warm, you might want to bake a small amount at a time or maybe put them in the oven to warm them up again. (Haven’t tried that). Or: place a bakingsheet toward the front of the warm oven, leaving the door half open. The warmth will keep the cookies malleable.
If you don’t want to do stencil shapes, you might want to transfer the batter into a piping bag fitted with a small plain tip. Pipe the desired shapes and bake. Shape immediately after baking using for instance a rolling pin, a broom handle, cups, cones….
Posted by Lola at 10:22 0 comments
Labels: biscuits, daring bakers
Sunday, 18 January 2009
Inauguration Cake!
Posted by Lola at 17:54 0 comments
Thursday, 8 January 2009
New Year, New Diet, New Dense Chocolate Cupcakes...
Posted by Lola at 22:23 0 comments
Saturday, 3 January 2009
Mmmmmm, pizza
Posted by Lola at 20:26 0 comments
Time for a winter warmer
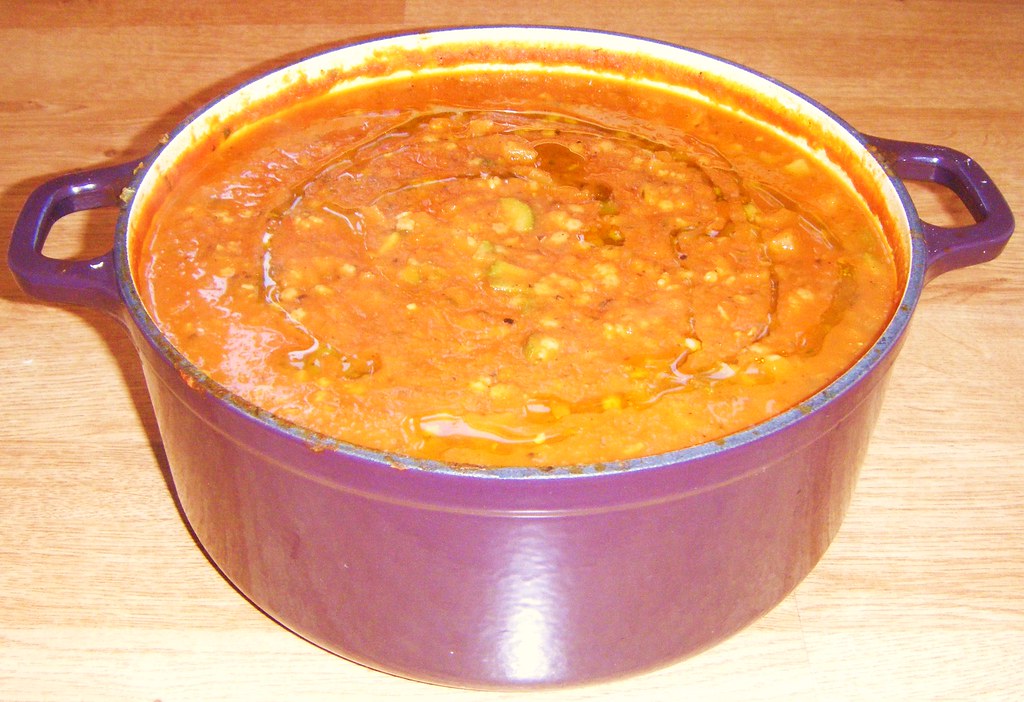
Posted by Lola at 14:27 0 comments
Wednesday, 31 December 2008
Festive focaccia!
Posted by Lola at 12:50 0 comments
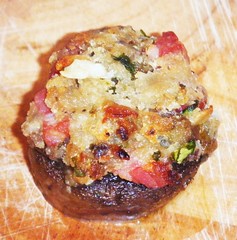
Dodgy photo, yummy mushroom
This year I hosted our family Boxing Day do, and decided to go with an Italian theme (Grandma's favourite food - and mine), so put together a small mountain of antipasti.
I was also determined to create The Perfect Stuffed Mushroom, and, ladies and gentlemen, I think I may have succeeded!
This stuffing mix made enough to stuff about 16 standard closed cup mushrooms.
Ingredients:
16 closed cup mushrooms
A few dried porcini mushrooms, soaked in boiling water, then chopped
A big handful of chopped parsley
c. 60g finely grated parmesan
70g pancetta cubes, slowly fried in olive oil until crisp - then cooled
Breadcrumbs of a 2-day-old medium white bloomer
1 medium onion and 4 cloves of garlic, finely chopped, and fried gently in olive oil and cooled
Plenty of fresh black pepper and sea salt to taste (the pancetta and parmesan are quite salty)
1. Mix together all stuffing ingredients and a little of the water from the porcinis - it needs to be a moist and ever-so-slightly sticky mix.
2. Squidge it into clumps and stuff into the mushrooms (after you've removed the stalks!) - squidge a bit more on top too.
3. Place in an oiled dish and drizzle with good olive oil. Cover in foil.
4. You may need to amend this dependent on your oven, but I baked them in a medium oven, at about 180 C, for about 15 minutes covered in foil for the first 10), then whacked it up to 220 C for another 5 minutes to crisp them off. I then let them cool a bit and served them warm (not hot).
Posted by Lola at 10:31 0 comments
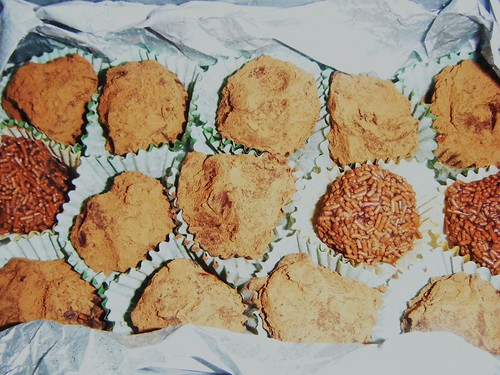
Boozy chocolate truffles
This year, I decided to be a bit creative with some of my tree presents, so made a massive batch of truffles for my Grandma and Grandad - plus many spare to take to people's houses over the festive season.
These were dead easy to make, though rather messy if I'm honest (though I think that was me, rather than the recipe!). Actually, the biggest problem I had was finding gift boxes to put the chocs in - I actually ended up making them out of card and covering them in tissue paper, which was a faff and a half!
Ingredients:
700g dark chocolate (around 70%)
600ml double cream
100g unsalted butter at room temperature
100ml amaretto liqueur (or other booze of your choice)
Cocoa powder
Chocolate vermicelli
Paper petit four cases
1. Heat the cream in a pan to just before boiling point.
2. Break the chocolate into pieces in a large bowl, and pour the cream over it.
3. Add the butter, and mix gently for a few minutes until all the chocolate is melted and it's glossy.
4. Pour in the booze and mix until all combined.
5. Pour into a large shallow dish, cover with cling and refrigerate for several hours until set (overnight is better, it takes longer then you think!).
6. Remove from the fridge for 5-10 minutes. Use a teaspoon to create 'chocolate shapes' and then use your hands to turn them into lovely round shapes, or slightly messier ones (my preference!).
7. Roll in the vermicelli or cocoa and place in the petit four cases.
8. Keep in the fridge til you want to eat them!
This made about 80 chocs.
Posted by Lola at 10:04 0 comments
Sunday, 21 December 2008
Christmas Tea Party
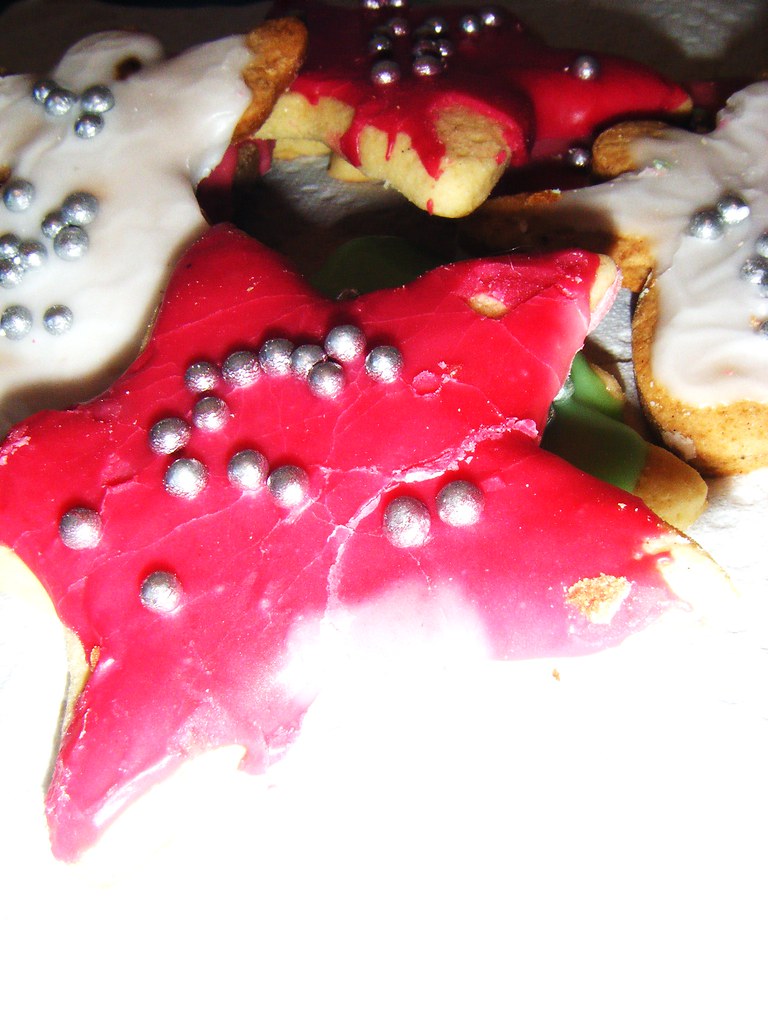
'Tis the Season for unnecessary baking! I have to say it doesn't feel like Christmas 'til I've started making excessively iced cakes and biccies and so on. Today, I had some friends and their 5 children round for tea before going off to our Parish Carol Service -an excellent excuse to make some sweet goodies, and try out my new camp-as-Christmas cake stand.
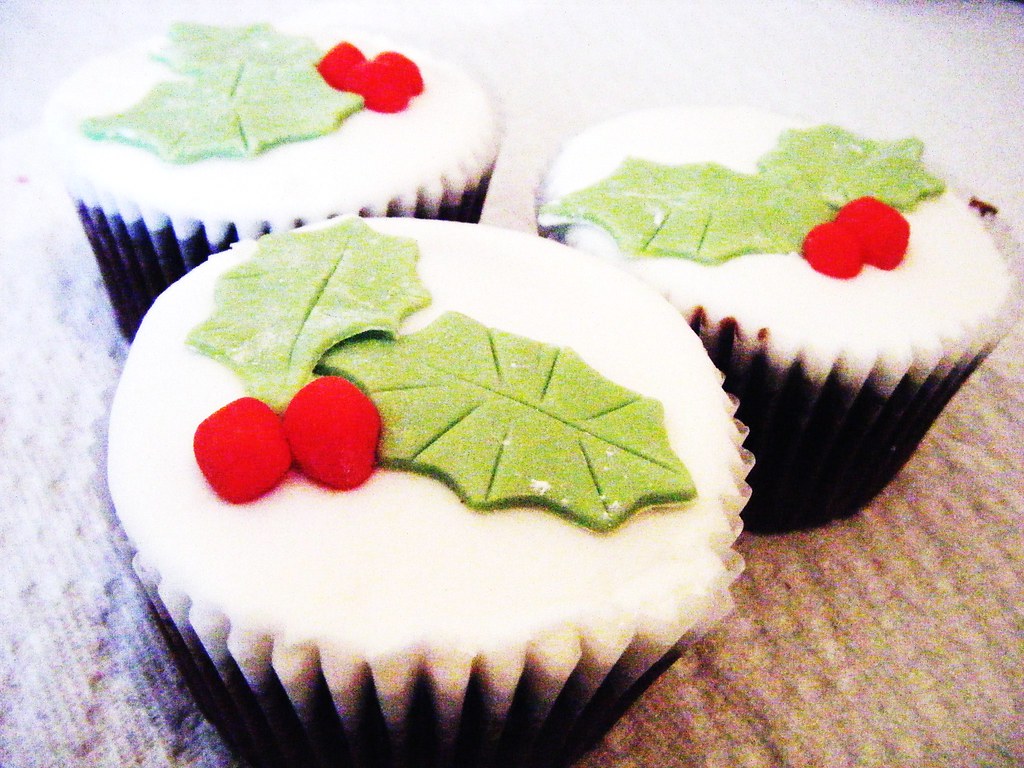
Cliché it may be, but as ever my first stop was Nigella's Domestic Goddess - the Christmas section is wonderful, and it is just one of those books that makes you feel like you can aspire to the Christmas baking dream. I went for her Christmas tree decoration biscuits, as well as her festive Christmas cupcakes.
It was a great tea party (made better by the addition of some nice red wine - but then, aren't all things better with red wine?), and it certainly feels like Christmas now!
Christmas Decoration BiscuitsThese are lovely, spicy bics that can have ribbons added and be hung on the tree. Or, they can be gobbled up! I made these yesterday, and was initially a bit disappointed. The mixture was very soft and difficult to roll, so I had to use a lot of flour on the worktop - and, unsurprisingly they turned out a bit tough. However, the addition of icing and an overnight rest rendered them much softer and less dry. I also found that the second batch I made, which I rolled out a little thicker (more like 8mm than 5), and cooked two minutes less were far better.
In terms of spice, I found them to be much milder than expected (she suggests that the 2 teaspoons of ground black pepper means they are not really child-friendly). However, I added in an extra couple of teaspoons of ginger and still found them warming, but not overwhelming. And the kids definitely ate them quite happily! They could probably have taken a bit more pepper and spice, to be honest!
In conclusion - definitely a winner, and doing the coloured icing was highly entertaining.
Ingredients:
300g plain flour
Pinch of salt
1 tsp baking powder
1 tsp mixed ground spice
(I also added 2 tsps ground ginger)
1-2 tsps freshly ground pepper
100g unsalted butter
100g dark muscovado sugar
2 large eggs beaten with 4 tsps runny honey
1. Combine the dry ingredients in a bowl. Rub in the butter with your fingertips, 'til it resembles breadcrumbs.
2. Slowly add the mixture of the eggs and honey, until it resembles a dough (I didn't use all the eggs, and it was still very wet).
3. Refrigerate the dough in a disc-shape, and pre-heat the oven to 170 degrees C.
4. Roll out the dough on a floured surface - to about 8mm thick. Cut out Christmassy shapes with cutters and place them on a lined baking sheet.
5. Bake for 15-20 minutes, or until the bottoms seemed cooked and firm-ish.
6. Cool on a rack, then ice with bright or minimalist icing of your choice.
Christmas Cupcakes
Ingredients:
150g plain flour
Half tsp bicarbonate of soda
1 tsp baking powder
1 tsp ground mixed spice
Pinch of salt
160g dark brown sugar
2 large eggs
2 tbsps sour cream
125ml boiling water
75g dark chocolate, broken into pieces
1 tsp instant coffee
150g instant royal icing
Ready-to-roll green icing
Cranberries (or balls of red icing!)
1. Mix the flour, bicarb, baking powder, spice and salt.
2. In another bowl, cream the butter and sugar.
3. Add the eggs to the butter and sugar, one at a time, mixing well.
4. Add the flour mixture to the sugar and butter, in three parts - adding 1 tbsp of sour cream after each 'third' of flour.
5. In a pan, put the chocolate, water and coffee. Melt the chocolate gently over a low heat.
6. Add the chocolate to the cake mixture, and fold in gently and quickly.
7. Pour the (fairly runny) mixture into 12 muffin cases in a muffin tin, and bake in a pre-heated oven at 200 degrees C for 20 minutes.
8. Leave the cakes in the bun tin for 5 minutes, then transfer them to a rack to cool.
9. When cool, ice thickly with the made-up white royal icing, then decorate with holly leaves made from the green icing, using either cranberries or balls of red icing as berries.
Posted by Lola at 19:12 0 comments
Friday, 19 December 2008
This 80s girl loves her Meatloaf
So, having launched myself onto the internet today, it seemed only right and proper to report on my first Adventure.... Meatloaf!
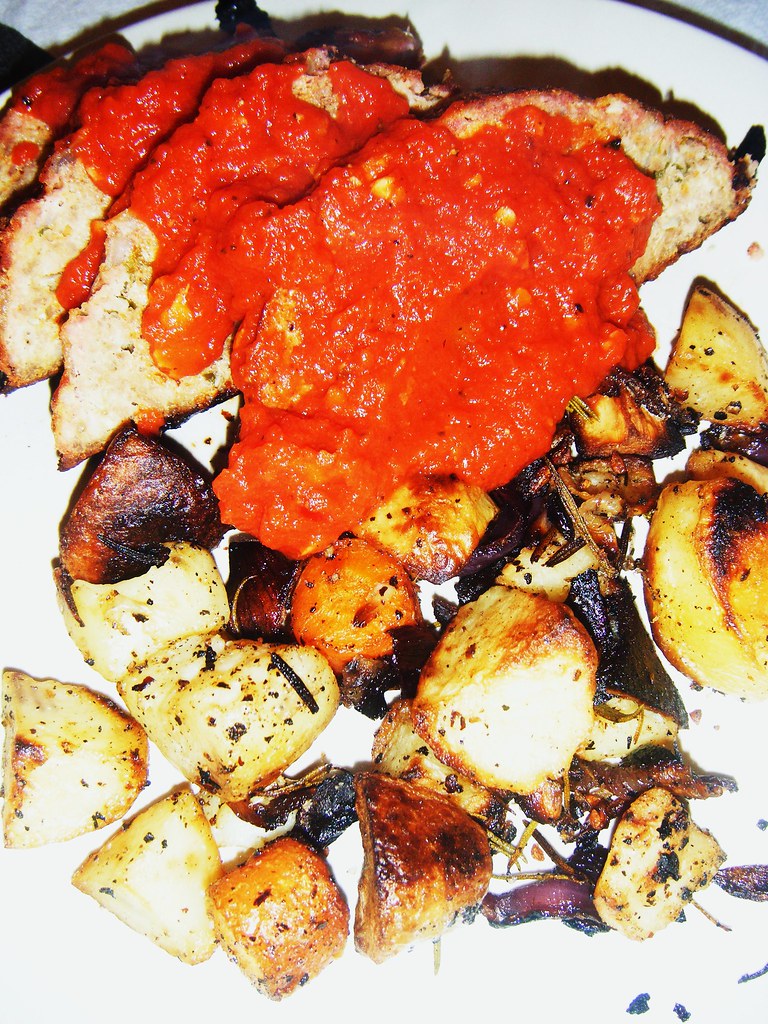
Clearly not the most glamorous of dishes, this was a bit of a staple of my childhood (not that I remember having much of a liking for it - sorry, Mother!). Anyways, I had a look in the freezer this morning and saw a small mountain of frozen mince, so decided to get it out to defrost. I was actually planning on doing meatballs, initially, but though do like them I find them a bit unsatisfying - the cold weather and the credit crunch call for more substantial fare!Sitting on the bus to work having a think about what to do with the mince, it struck me that it might be worth having a bash at meatballs' bigger and heartier sibling. Traditional staple though it is, I've never made one before, so did a bit of research online, before deciding on what to put in my own version. I decided to go for the more 'Italian' style, and also plumped for 3 eggs for my 2lbs of meat (internet recipes suggested anything between 1 and 4 - 3 seemed a reasonable guess!). I also made the (wise) decision that the best thing about food like this is the crispy bits, and thus poured my tomato sauce on after cooking, rather than beforehand.
In conclusion - yum! It certainly was filling, though this may be due in part to the roast root veg I served with it. But it is definitely a keeper of a recipe - the onions, garlic and parmesan really add to the mince, taking it to a whole new level. I am also looking forward to trying out some of the leftovers in sandwiches tomorrow!
Italian-ish meatloaf
Ingredients:
450g pork mince
450g beef mince
1 large onion, finely chopped
1 large carrot, finely grated
4 fat cloves garlic, minced
3 large eggs, whisked
100g fresh breadcrumbs
50g grated parmesan
Large handful of chopped flat-leaf parsley
To serve:
Freshly made tomato sauce of your choosing
1. Sweat the onion, carrot and garlic in olive oil on a low heat, until soft and melting together. Remove from the heat and leave to cool.
2. In a large bowl, combine all the ingredients (not the tomato sauce though!). Season well with salt and plenty of freshly ground black pepper.
3. Using your hands (such fun!) squish all the ingredients together until they are all well mixed.
4. Transfer the mixture onto a greased baking tray, and use your hands to create a sort-of oblong 'loaf' shape. Smooth the top over.
5. Bake in an oven at 180 degrees C for about an hour and a quarter, or until brown and crispy on top.
6. Allow to sit for five minutes before slicing and serving, with the hot tomato sauce poured over the top.
Serves 6-8.
Posted by Lola at 20:35 0 comments
The Beginning Of The Adventures (or, The Beginning Of Writing About Them!)
So, I've spent some time reading and enjoying other people's food and cooking blogs, and have finally felt compelled to have a bash at it myself (though I suspect my food photography skills are nothing compared to the lovely pics you see on many sites).
Obviously, I have no reason to assume that anyone will read this at all, so it's probably more for my own enjoyment than anything else (I like cooking and I like writing - this would seem to be the ideal combination!).
Anyway, we shall see how it progresses. It being Christmas, I will be off work and will also have more opportunities for cooking, so it might well be that there is an enthusiastic start followed by a blog fade, but who knows!
Posted by Lola at 15:10 0 comments