This month's challenge is brought to us by Karen of Baking Soda and Zorra of 1x umruehren bitte aka Kochtopf.
They have chosen Tuiles from The Chocolate Book by Angélique Schmeink and Nougatine and Chocolate Tuiles from Michel Roux.
So, this month, along with many of my Daring Bakers sisters and brothers, I have been making Tuiles. Light, crisp biscuits that can be shaped into (more-or-less) anything to decorate a pud or a snack.
I should admit, on first seeing this month’s challenge, I was a little disappointed. I’d seen the glamorous and complex cakes they had made in the past, and I wanted to have a go at that – the recipe for tuiles seemed a bit simple.
But goodness me was I wrong! The recipe itself was quite easy to put together – my eggs split the mix a little bit, but it came back together as soon as I added the flour.
I also had to acquire some stencils to spread the mix into.... It being January, I was skint so decided to make some out of a thin, flexible card I had left from Christmas. The stencils themselves were fine, but obviously the card absorbs moisture, so they became a bit soggy after stencilling just one or two biscuits. Washing them was also not an option.
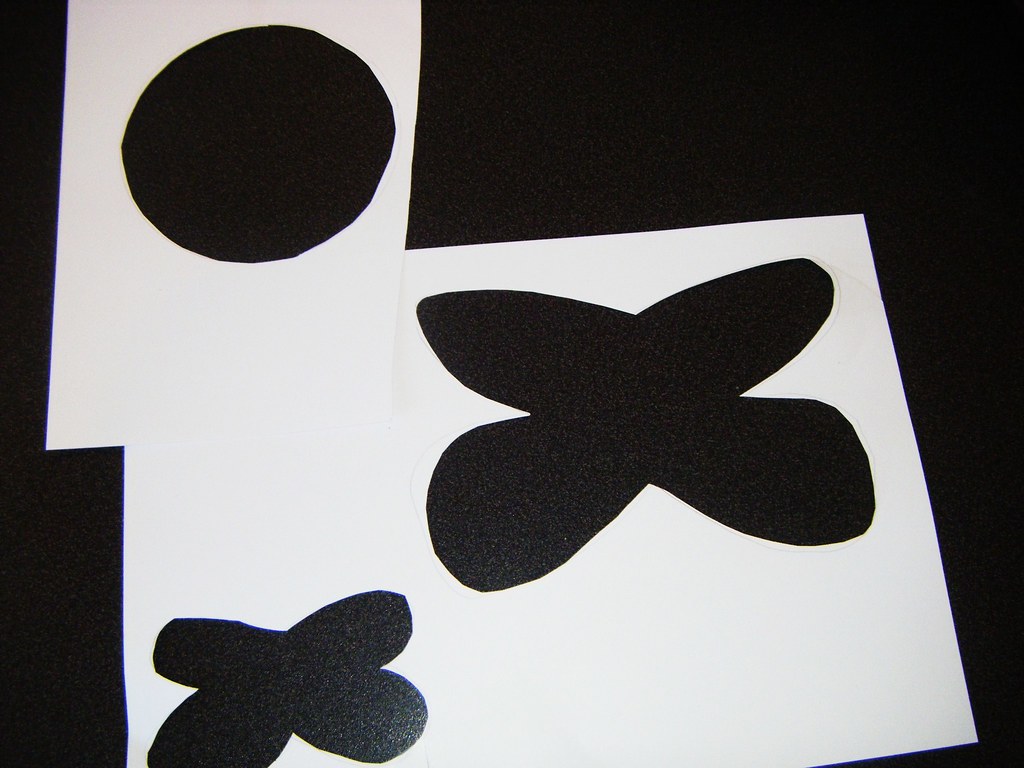
Tip one – next time I’d buy stencils, or make them out of acetate!
The second ‘issue’ I faced was spreading the batter. How thick? After trying again and again (I had to make two batches), I worked out that the key is to have a cold batter, a cold tray and to spread THINLY! When I had made them thicker they came out too cake-y, and wouldn’t really hold their shape.
The only problem I faced here was again a matter of equipment – my cookie sheet is seriously old, and a bit knobbly, so getting the tuiles off was hard to do when they were spread as thinly as they needed to be.
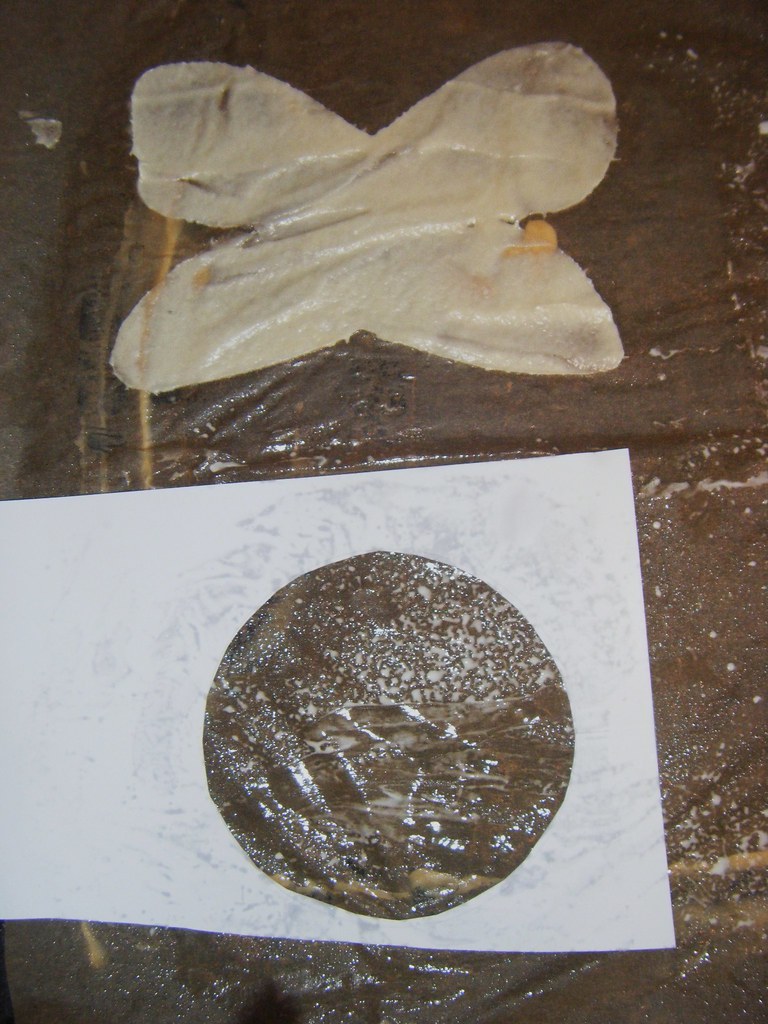
Cooking the tuiles was quite easy. My oven’s a bit ropey, so I turned it down a couple of notches and just checked the biscuits very regularly. By the time I made my last tuile, I seemed to have the nack of spreading them thinly and evenly enough that when they were cooked I didn’t have too much brown-ness round the edges.
Finally – shaping!! The more thinly the batter had been spread, the easier they were to shape. They seemed so soft and malleable on the tray, that it was surprising just how quickly they firmed up. Like lots of people, I found popping the tray half-in, half-out of the oven to keep them soft, and doing the shaping by the oven door was an effective way of doing it. Not sure this would have worked if I had been making more than three or four on a tray though!
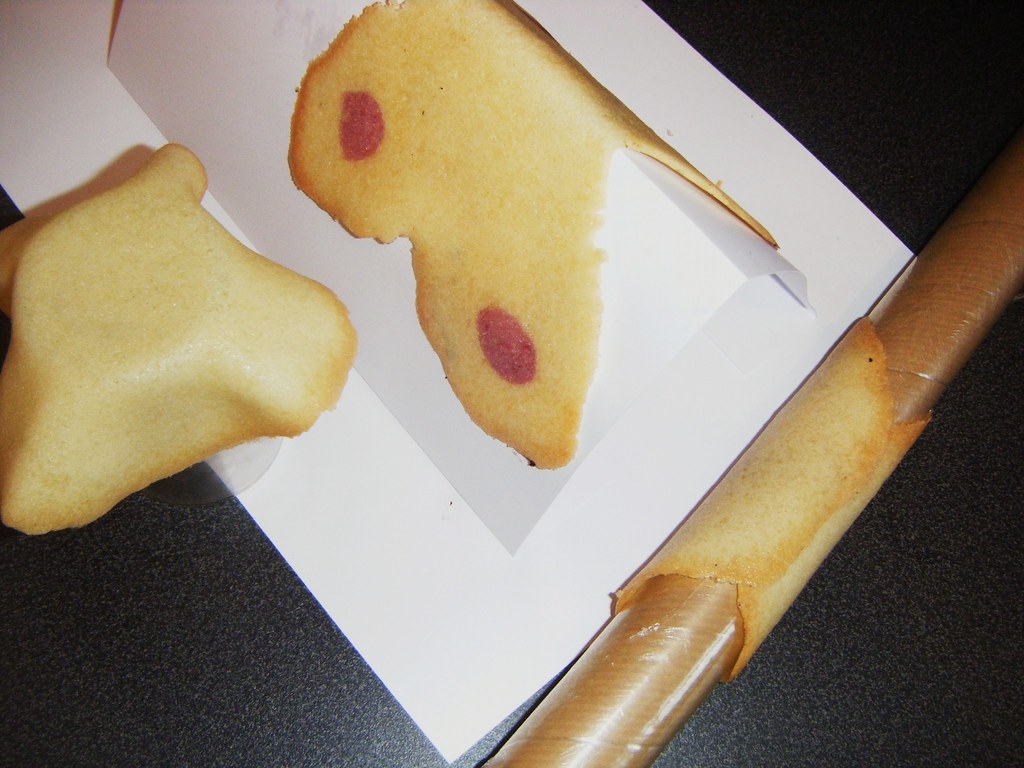
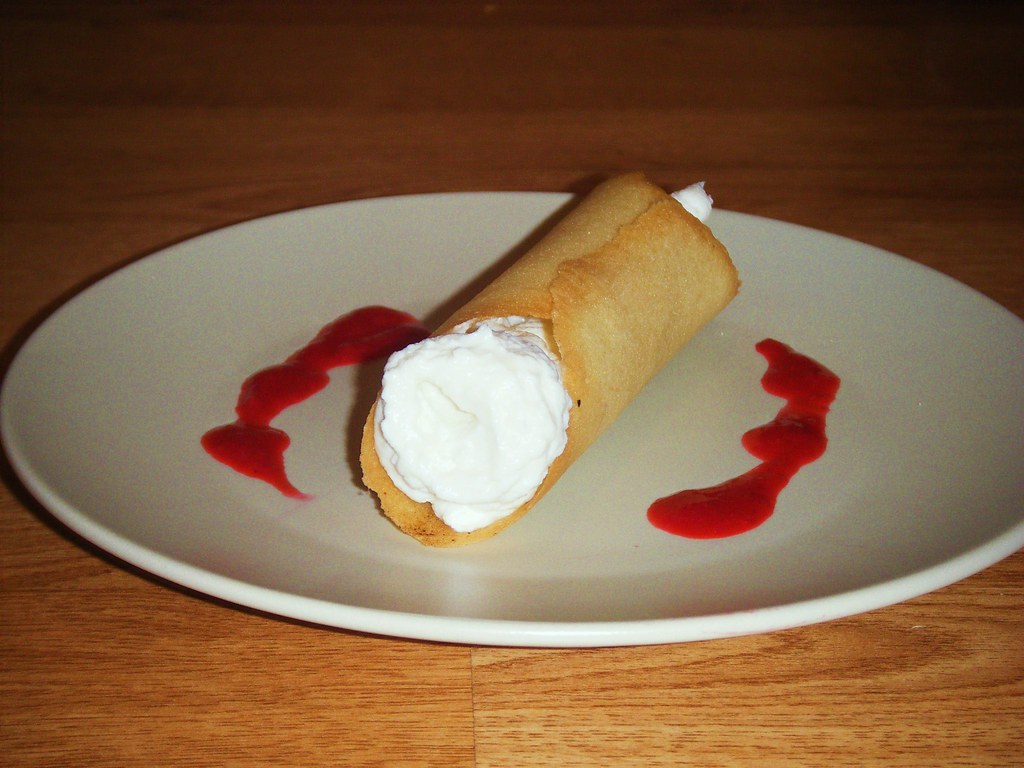
Our challenge was not just to make the tuiles – we also had to shape them, and combine them with something light... So, my tuiles became kannoli! I LOVE kannoli, and you can’t really get them in the UK, so if we want them we are forced to make them. My Grandma has tried with softened brandy snaps before, and somewhere in a cupboard I have a set of the metal tubes, but I’ve never felt like getting to grips with the deep-frying. So tuiles seemed like an opportunity to make a crisp tube shell without all the faff and grease of deep-frying, and without the strong flavour of the brandy-snaps.
And it worked! I beat some ricotta with a little bit of sieved icing sugar and piped it in (I don’t like it too sweet or chocolatey – it should taste of cheese!). I served it with a really simple raspberry coulis to cut through the rich filling. And the verdict? YUM! I will definitely be doing this again.
Following is a recipe taken from a book called “The Chocolate Book”, written by female Dutch Master chef Angélique Schmeinck.
Yield: 20 small butterflies/6 large (butterflies are just an example).
Preparation time: batter 10 minutes, waiting time 30 minutes.
Baking time: 5-10 minutes per batch.
65 grams softened butter (not melted but soft)
60 grams sieved icing sugar
7 grams caster sugar
Dash of vanilla extract
2 large egg whites (slightly whisked with a fork)
65 grams sieved plain flour
1 tablespoon cocoa powder
Butter/spray to grease baking sheet
Oven: 180C (I put mine at 160C)
Using a hand whisk or a stand mixer fitted with the paddle (low speed) and cream butter, sugar and vanilla to a paste. Keep stirring while you gradually add the egg whites. Continue to add the flour in small batches and stir to achieve a homogeneous and smooth batter/paste. Be careful to not overmix.
Cover the bowl with plastic wrap and chill in the fridge for at least 30 minutes to firm up. (This batter will keep in the fridge for up to a week, take it out 30 minutes before you plan to use it).
Line a baking sheet with parchment paper or grease with either butter/spray and chill in the fridge for at least 15 minutes. This will help spread the batter more easily if using a stencil/cardboard template such as the butterfly. Press the stencil on the bakingsheet and use an off sided spatula to spread batter. Leave some room in between your shapes. Mix a small part of the batter with the cocoa and a few drops of warm water until evenly colored. Use this colored batter in a paper piping bag and proceed to pipe decorations on the wings and body of the butterfly.
Bake butterflies in a preheated oven (180C/350F) for about 5-10 minutes or until the edges turn golden brown. Immediately release from bakingsheet and proceed to shape/bend the cookies in the desired shape. These cookies have to be shaped when still warm, you might want to bake a small amount at a time or maybe put them in the oven to warm them up again. (Haven’t tried that). Or: place a bakingsheet toward the front of the warm oven, leaving the door half open. The warmth will keep the cookies malleable.
If you don’t want to do stencil shapes, you might want to transfer the batter into a piping bag fitted with a small plain tip. Pipe the desired shapes and bake. Shape immediately after baking using for instance a rolling pin, a broom handle, cups, cones….