Sunday, 28 June 2009
Bakewell Tart of Delight!
I LOVE almonds and I ADORE Bakewell Tart, so I was delighted that this is what we were to make for the Daring Bakers this month.
Despite the confusion, I'm pretty sure this is a Bakewell Tart, as opposed to a Bakewell Pudding - sweet shortcrust pastry, a think layer of jam, and lovely soft frangipane. Mmmmmmmmm.
You can see the recipe we worked to here. I used a 'posh' cherry conserve that I bought (no time to make jam this month!). I just used enough to smear over the base, which worked well - I don't think Bakewells should have too much jam if possible.
I followed it very closely, and it worked out very well indeed. The pastry was flaky and cooked through, and the almond mix was just delicious. The people I fed it to at my drama group were very pleased, and commented on how moist it was. I will definitely be making it again - it's a great 'keeper' for picnics, teas, parties etc.
I did make a couple of changes to the recipe / method:
* used one third more frangipane as I had a slightly larger tin - seemed to cook in the same time though, giver or take 5 minutes.
* blind-baked the case for 15 minutes, at 180 celsius, lined with parchment and filled with beans - I then egg-washed it and popped it back in for 2-3 minutes - this definitely stopped the pastry going soggy.
* put the butter, bowl and flour in the freezer for ten minutes before making the patry - this got me a better pastry than I have managed before.
All in all - another tasty Daring Bakers success! Yum.
Posted by Lola at 18:11 0 comments
Labels: almonds, cakes, daring bakers
Saturday, 28 February 2009
For the love of chocolate!
The February 2009 challenge is hosted by Wendy of WMPE's blog and Dharm of Dad ~ Baker & Chef.
We have chosen a Chocolate Valentino cake by Chef Wan; a Vanilla Ice Cream recipe from Dharm and a Vanilla Ice Cream recipe from Wendy as the challenge.
This is my second Daring Bakers’ challenge, and an exciting one for someone with a sweet tooth (though also, unfortunately, one requiring major self-control, due to the ongoing diet!!).
I made a rich, dark chocolate and mint valentine, and paired it with a low-fat chocolate and mint ‘ice-cream’ made from evaporated milk – tasty, and also simple (also meant I could actually eat it, which was a bonus!).
It was delicious. I decided that, given the simple pared-down ingredients, I should buy ‘the best’, and so combined some beautiful organic eggs (with fabulously intensely yellow yolks) with some great quality chocolate. I used about 2/3rds dark mint chocolate, and 1/3rd milk chocolate. The resulting flavour was dark and minty, and just sweet enough for grown-ups (I would definitely use a higher proportion of milk chocolate if I was making it for kids).
I cut most of it into little squares and took them to work – all 30-odd of them had gone in half an hour!
In all, I found this recipe very simple to follow – by turning the oven down slightly shy of the temperature, and keeping a close eye on it, I managed to avoid any texture problems.
I will, most definitely, be making it again.
Beautiful organic eggs from posh hens.
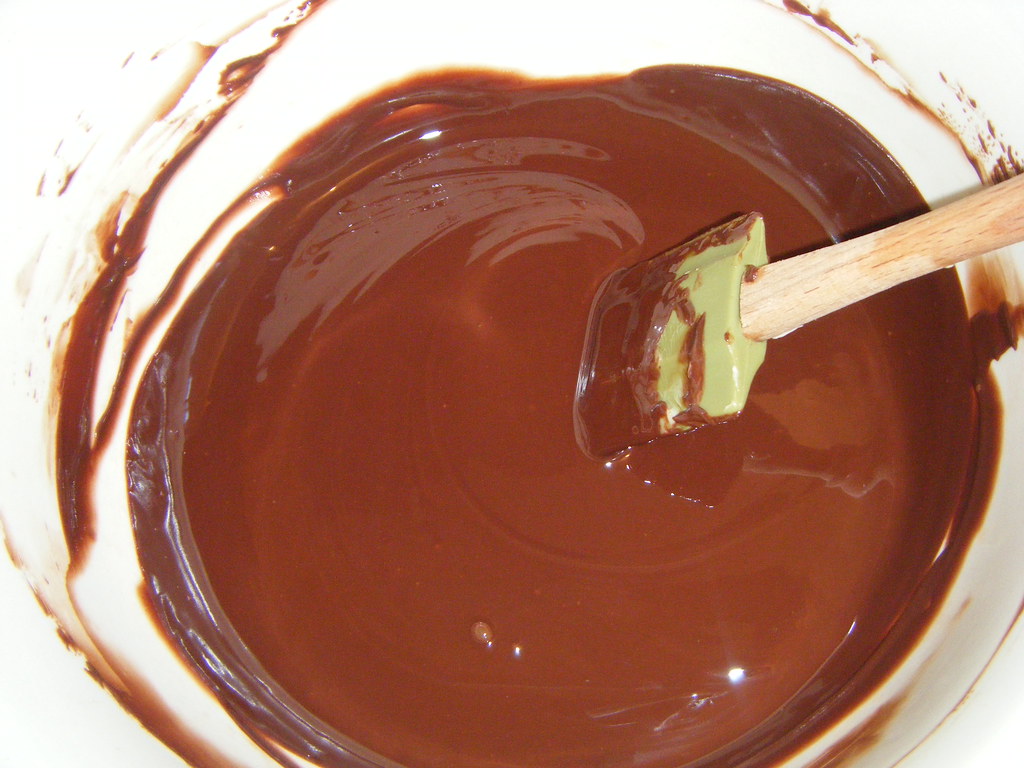
Lovely, rich melted chocolate and butter.
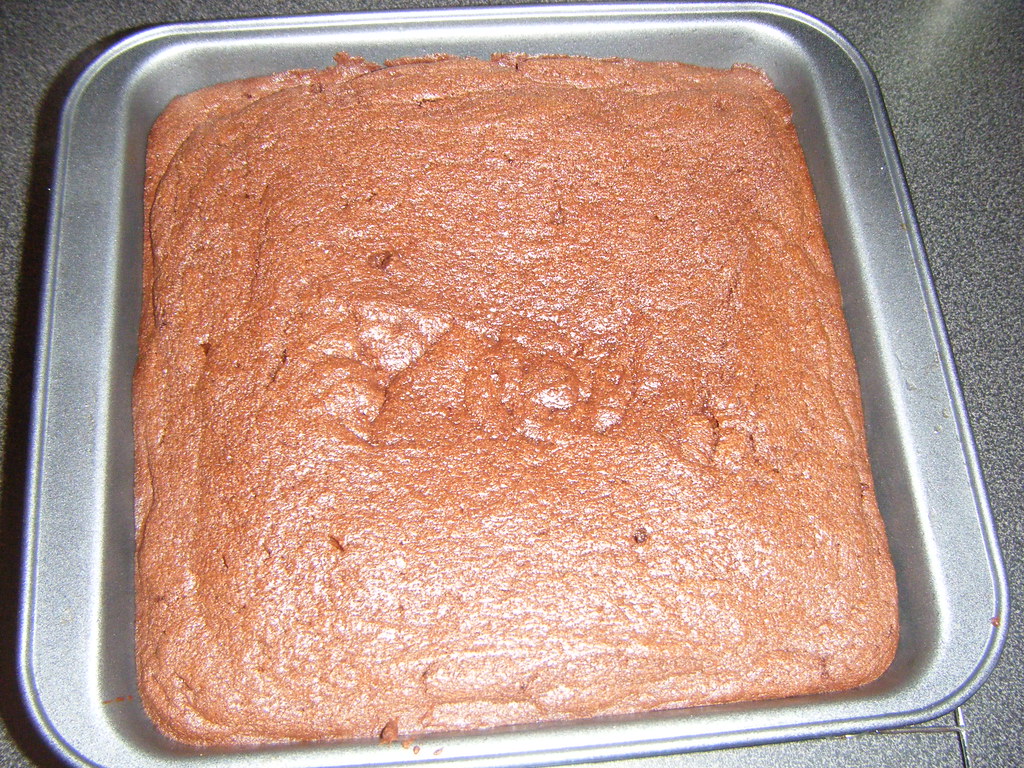
Cooked in its tin - didn't seem to sink!
Chocolate Valentino, inspired by Malaysia’s “most flamboyant food ambassador”, Chef Wan. Recipe comes from Sweet Treats by Chef Wan.
hocolate Valentino
Preparation Time: 20 minutes
454 grams of chocolate, roughly chopped
145 grams of unsalted butter
5 large eggs separated
1. Put chocolate and butter in a heatproof bowl and set over a pan of simmering water (the bottom of the bowl should not touch the water) and melt, stirring often.
2. While your chocolate butter mixture is cooling, butter your pan and line with a parchment circle then butter the parchment.
3. Separate the egg yolks from the egg whites and put into two medium/large bowls.
4. Whip the egg whites in a medium/large grease free bowl until stiff peaks are formed (do not over-whip or the cake will be dry).
5. With the same beater beat the egg yolks together.
6. Add the egg yolks to the cooled chocolate.
7. Fold in 1/3 of the egg whites into the chocolate mixture and follow with remaining 2/3rds. Fold until no white remains without deflating the batter.
8. Pour batter into prepared pan, the batter should fill the pan 3/4 of the way full, and bake at 190C
9. Bake for 25 minutes until an instant read thermometer reads 60C.
Note – If you do not have an instant read thermometer, the top of the cake will look similar to a brownie and a cake tester will appear wet.
10. Cool cake on a rack for 10 minutes then unmold.
Posted by Lola at 14:13 0 comments
Labels: cakes, chocolate, daring bakers
Sunday, 18 January 2009
Inauguration Cake!
Posted by Lola at 17:54 0 comments
Thursday, 8 January 2009
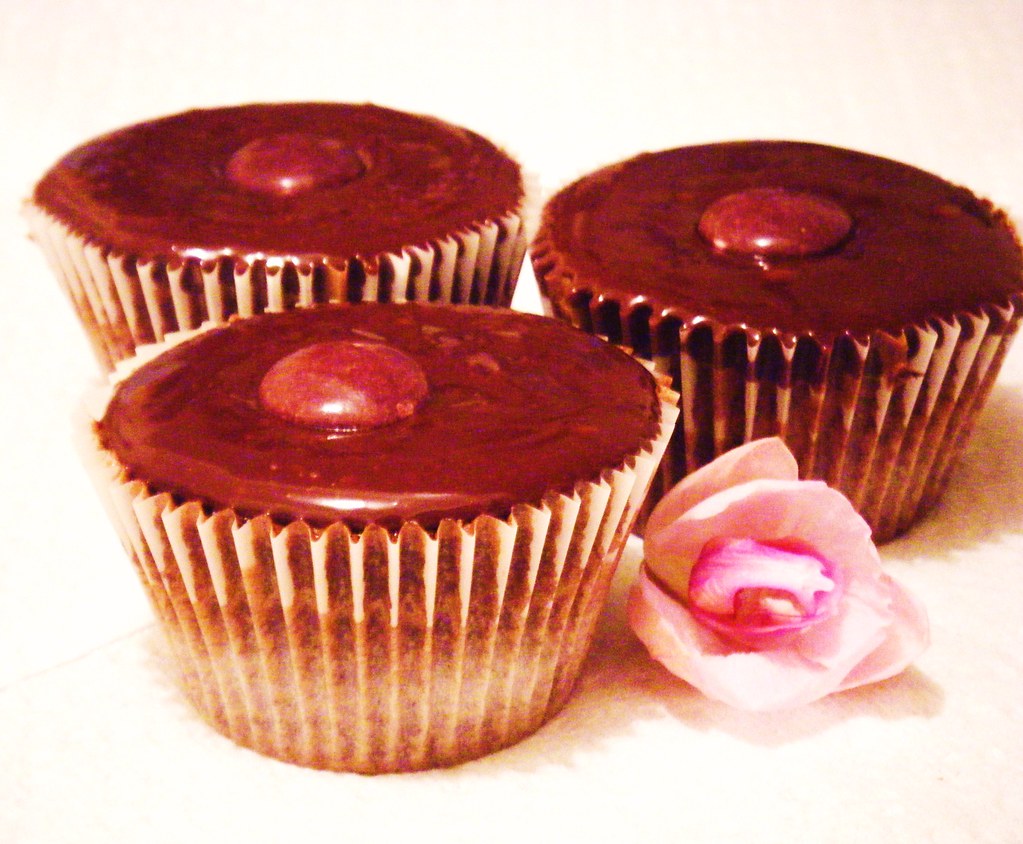
New Year, New Diet, New Dense Chocolate Cupcakes...
Posted by Lola at 22:23 0 comments
Sunday, 21 December 2008
Christmas Tea Party

Cliché it may be, but as ever my first stop was Nigella's Domestic Goddess - the Christmas section is wonderful, and it is just one of those books that makes you feel like you can aspire to the Christmas baking dream. I went for her Christmas tree decoration biscuits, as well as her festive Christmas cupcakes.
It was a great tea party (made better by the addition of some nice red wine - but then, aren't all things better with red wine?), and it certainly feels like Christmas now!
Christmas Decoration Biscuits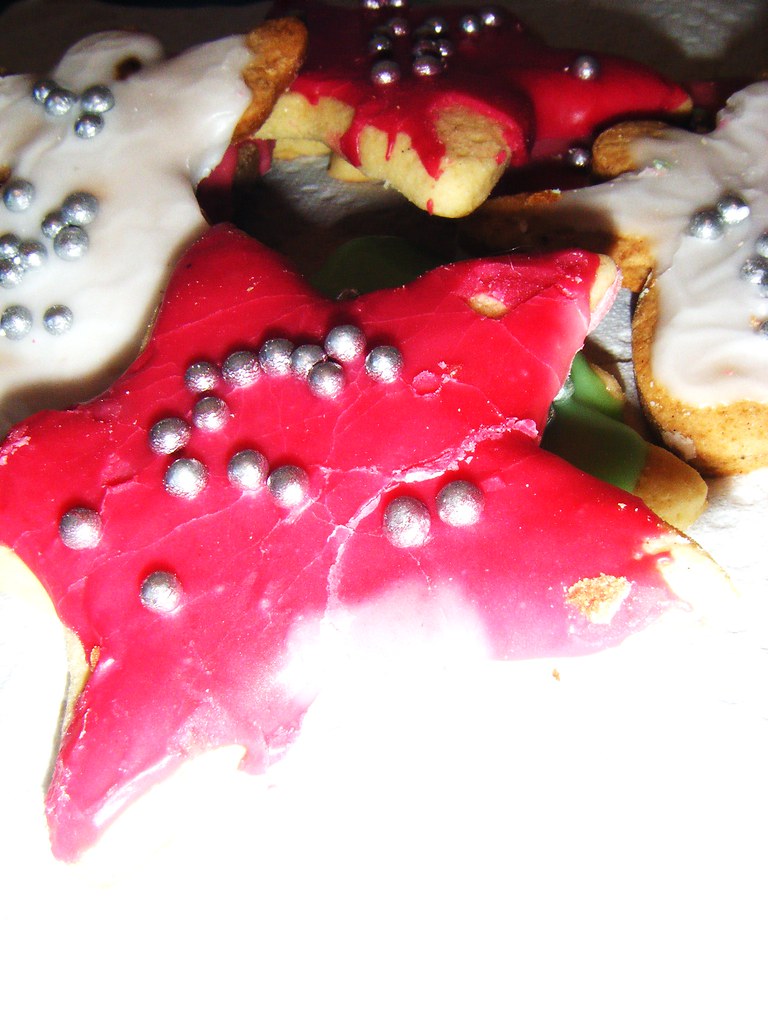 These are lovely, spicy bics that can have ribbons added and be hung on the tree. Or, they can be gobbled up! I made these yesterday, and was initially a bit disappointed. The mixture was very soft and difficult to roll, so I had to use a lot of flour on the worktop - and, unsurprisingly they turned out a bit tough. However, the addition of icing and an overnight rest rendered them much softer and less dry. I also found that the second batch I made, which I rolled out a little thicker (more like 8mm than 5), and cooked two minutes less were far better.
In terms of spice, I found them to be much milder than expected (she suggests that the 2 teaspoons of ground black pepper means they are not really child-friendly). However, I added in an extra couple of teaspoons of ginger and still found them warming, but not overwhelming. And the kids definitely ate them quite happily! They could probably have taken a bit more pepper and spice, to be honest!
In conclusion - definitely a winner, and doing the coloured icing was highly entertaining.
Ingredients:
300g plain flour
Pinch of salt
1 tsp baking powder
1 tsp mixed ground spice
(I also added 2 tsps ground ginger)
1-2 tsps freshly ground pepper
100g unsalted butter
100g dark muscovado sugar
2 large eggs beaten with 4 tsps runny honey
1. Combine the dry ingredients in a bowl. Rub in the butter with your fingertips, 'til it resembles breadcrumbs.
2. Slowly add the mixture of the eggs and honey, until it resembles a dough (I didn't use all the eggs, and it was still very wet).
3. Refrigerate the dough in a disc-shape, and pre-heat the oven to 170 degrees C.
4. Roll out the dough on a floured surface - to about 8mm thick. Cut out Christmassy shapes with cutters and place them on a lined baking sheet.
5. Bake for 15-20 minutes, or until the bottoms seemed cooked and firm-ish.
6. Cool on a rack, then ice with bright or minimalist icing of your choice.
Christmas Cupcakes
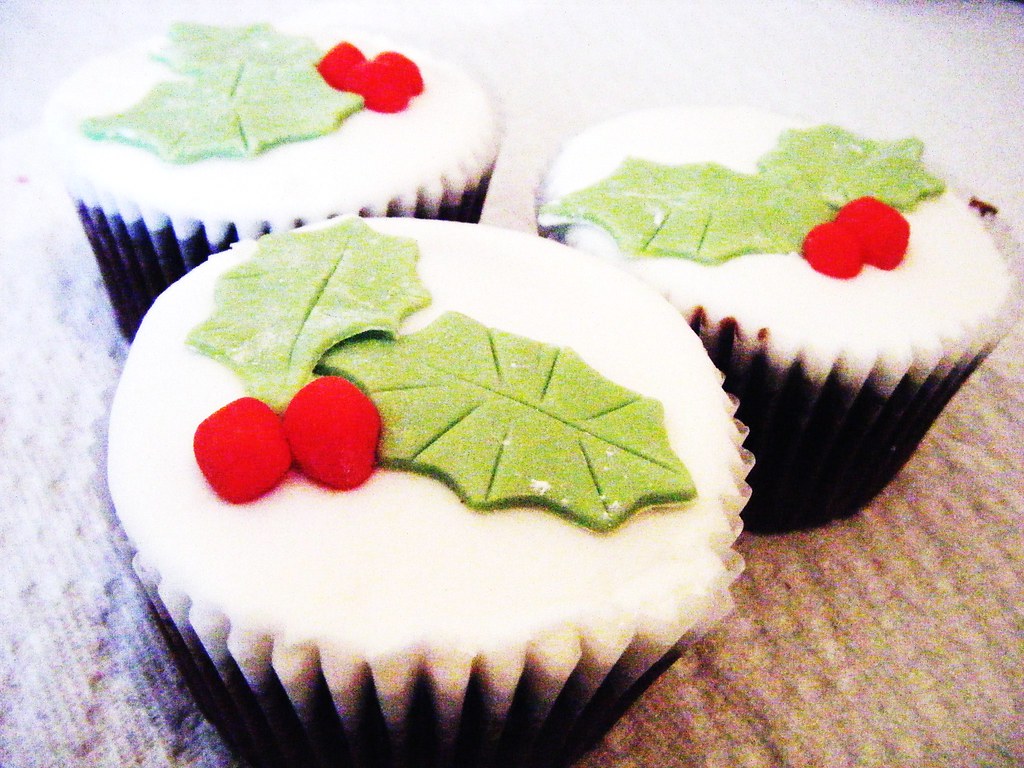 These are dense, rich spicy-chocolatey bites of loveliness. Really moist, and grown-up enough for the adults, whilst the chocolate means the kids should still eat them. Not only do they look ever-so pretty, but the taste matches the cuteness. My only 'moan' is that some of the cakes didn't stick to the inside of their cases very well, and the cases gaped a bit, which didn't look amazing - but the icing soon stuck them back together!
Ingredients:
150g plain flour
Half tsp bicarbonate of soda
1 tsp baking powder
1 tsp ground mixed spice
Pinch of salt
160g dark brown sugar
2 large eggs
2 tbsps sour cream
125ml boiling water
75g dark chocolate, broken into pieces
1 tsp instant coffee
150g instant royal icing
Ready-to-roll green icing
Cranberries (or balls of red icing!)
1. Mix the flour, bicarb, baking powder, spice and salt.
2. In another bowl, cream the butter and sugar.
3. Add the eggs to the butter and sugar, one at a time, mixing well.
4. Add the flour mixture to the sugar and butter, in three parts - adding 1 tbsp of sour cream after each 'third' of flour.
5. In a pan, put the chocolate, water and coffee. Melt the chocolate gently over a low heat.
6. Add the chocolate to the cake mixture, and fold in gently and quickly.
7. Pour the (fairly runny) mixture into 12 muffin cases in a muffin tin, and bake in a pre-heated oven at 200 degrees C for 20 minutes.
8. Leave the cakes in the bun tin for 5 minutes, then transfer them to a rack to cool.
9. When cool, ice thickly with the made-up white royal icing, then decorate with holly leaves made from the green icing, using either cranberries or balls of red icing as berries.
Posted by Lola at 19:12 0 comments


